Launching an instance with a persistent private IP via Horizon (GUI)
Overview
This guide details how to instantiate a single compute instance with a pre-configured, persistent private IP address using the firstcloud Horizon dashboard.
Prerequisites
- Valid firstcloud credentials (username, passphrase, and domain).
- Familiarity with terminal/SSH and SSH key management.
Creating Network Port
The following instructions detail how to provision a network port.
Step 1: Accessing the OpenStack CLI
Open your terminal or command prompt. Log in to the OpenStack CLI using your firstcloud credentials. (Refer to your firstcloud documentation for specific login instructions if needed).
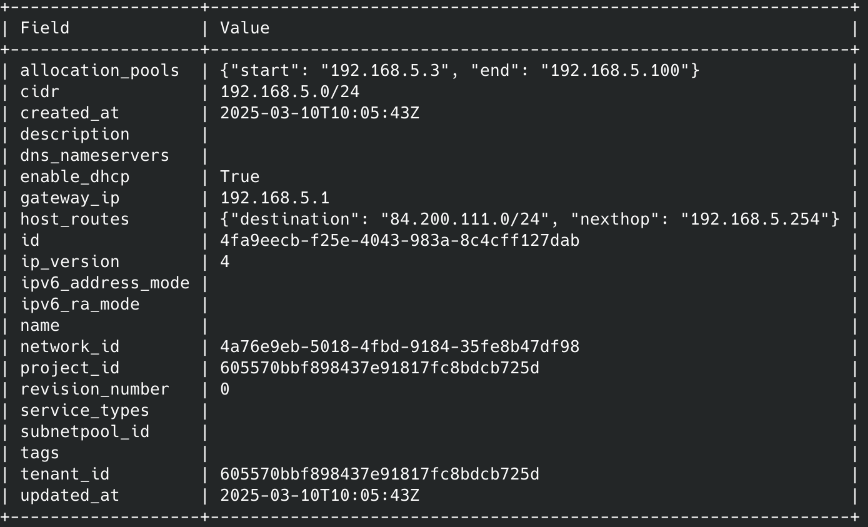
Step 2: Obtaining Network and Subnet IDs
To create the port, you'll need the IDs of your network and subnet. You can find these IDs using either the Horizon GUI or the OpenStack CLI.
Locating IDs via the Horizon GUI:
Navigate to Networks: In the Horizon dashboard, click on "Networks." Select Your Network: Choose the network you want to use. View Subnets: Click on the "Subnets" tab. Locate IDs: On this page, you'll find the Network ID and the Subnet ID.
Locating IDs via the OpenStack CLI:
Use the neutron subnet-show command:
$ neutron subnet-show <SUBNET_ID>
(Replace
View the Output: The command will display detailed information about the subnet, including the Network ID and the Subnet ID.
Step 3: Creating the Network Port
Execute the neutron port-create command:
$ neutron port-create \
    --name <PORT_NAME> \
    --fixed-ip subnet_id=<SUBNET_ID>,ip_address=<IP_ADDRESS> \
    <NETWORK_ID>
Replace the placeholders:
Explanation of Command Parameters:
--name: Assigns a name to the network port.
--fixed-ip: Specifies the subnet and IP address to be assigned to the port.
Launching an Instance with Private IP (requires previous step: creating the network port)
Steps
-
Import SSH Keys:
- Upload your SSH key(s) to the Horizon dashboard. Refer to the importing SSH-keys guide.
-
Create Security Group for SSH Access:
- Create an SSH access security group. See the create security groups
-
Log In to firstcloud Dashboard:
- Access the firstcloud Dashboard using your provided credentials.
- Access the firstcloud Dashboard using your provided credentials.
-
Navigate to Instances:
- Go to "Project" > "Instances."
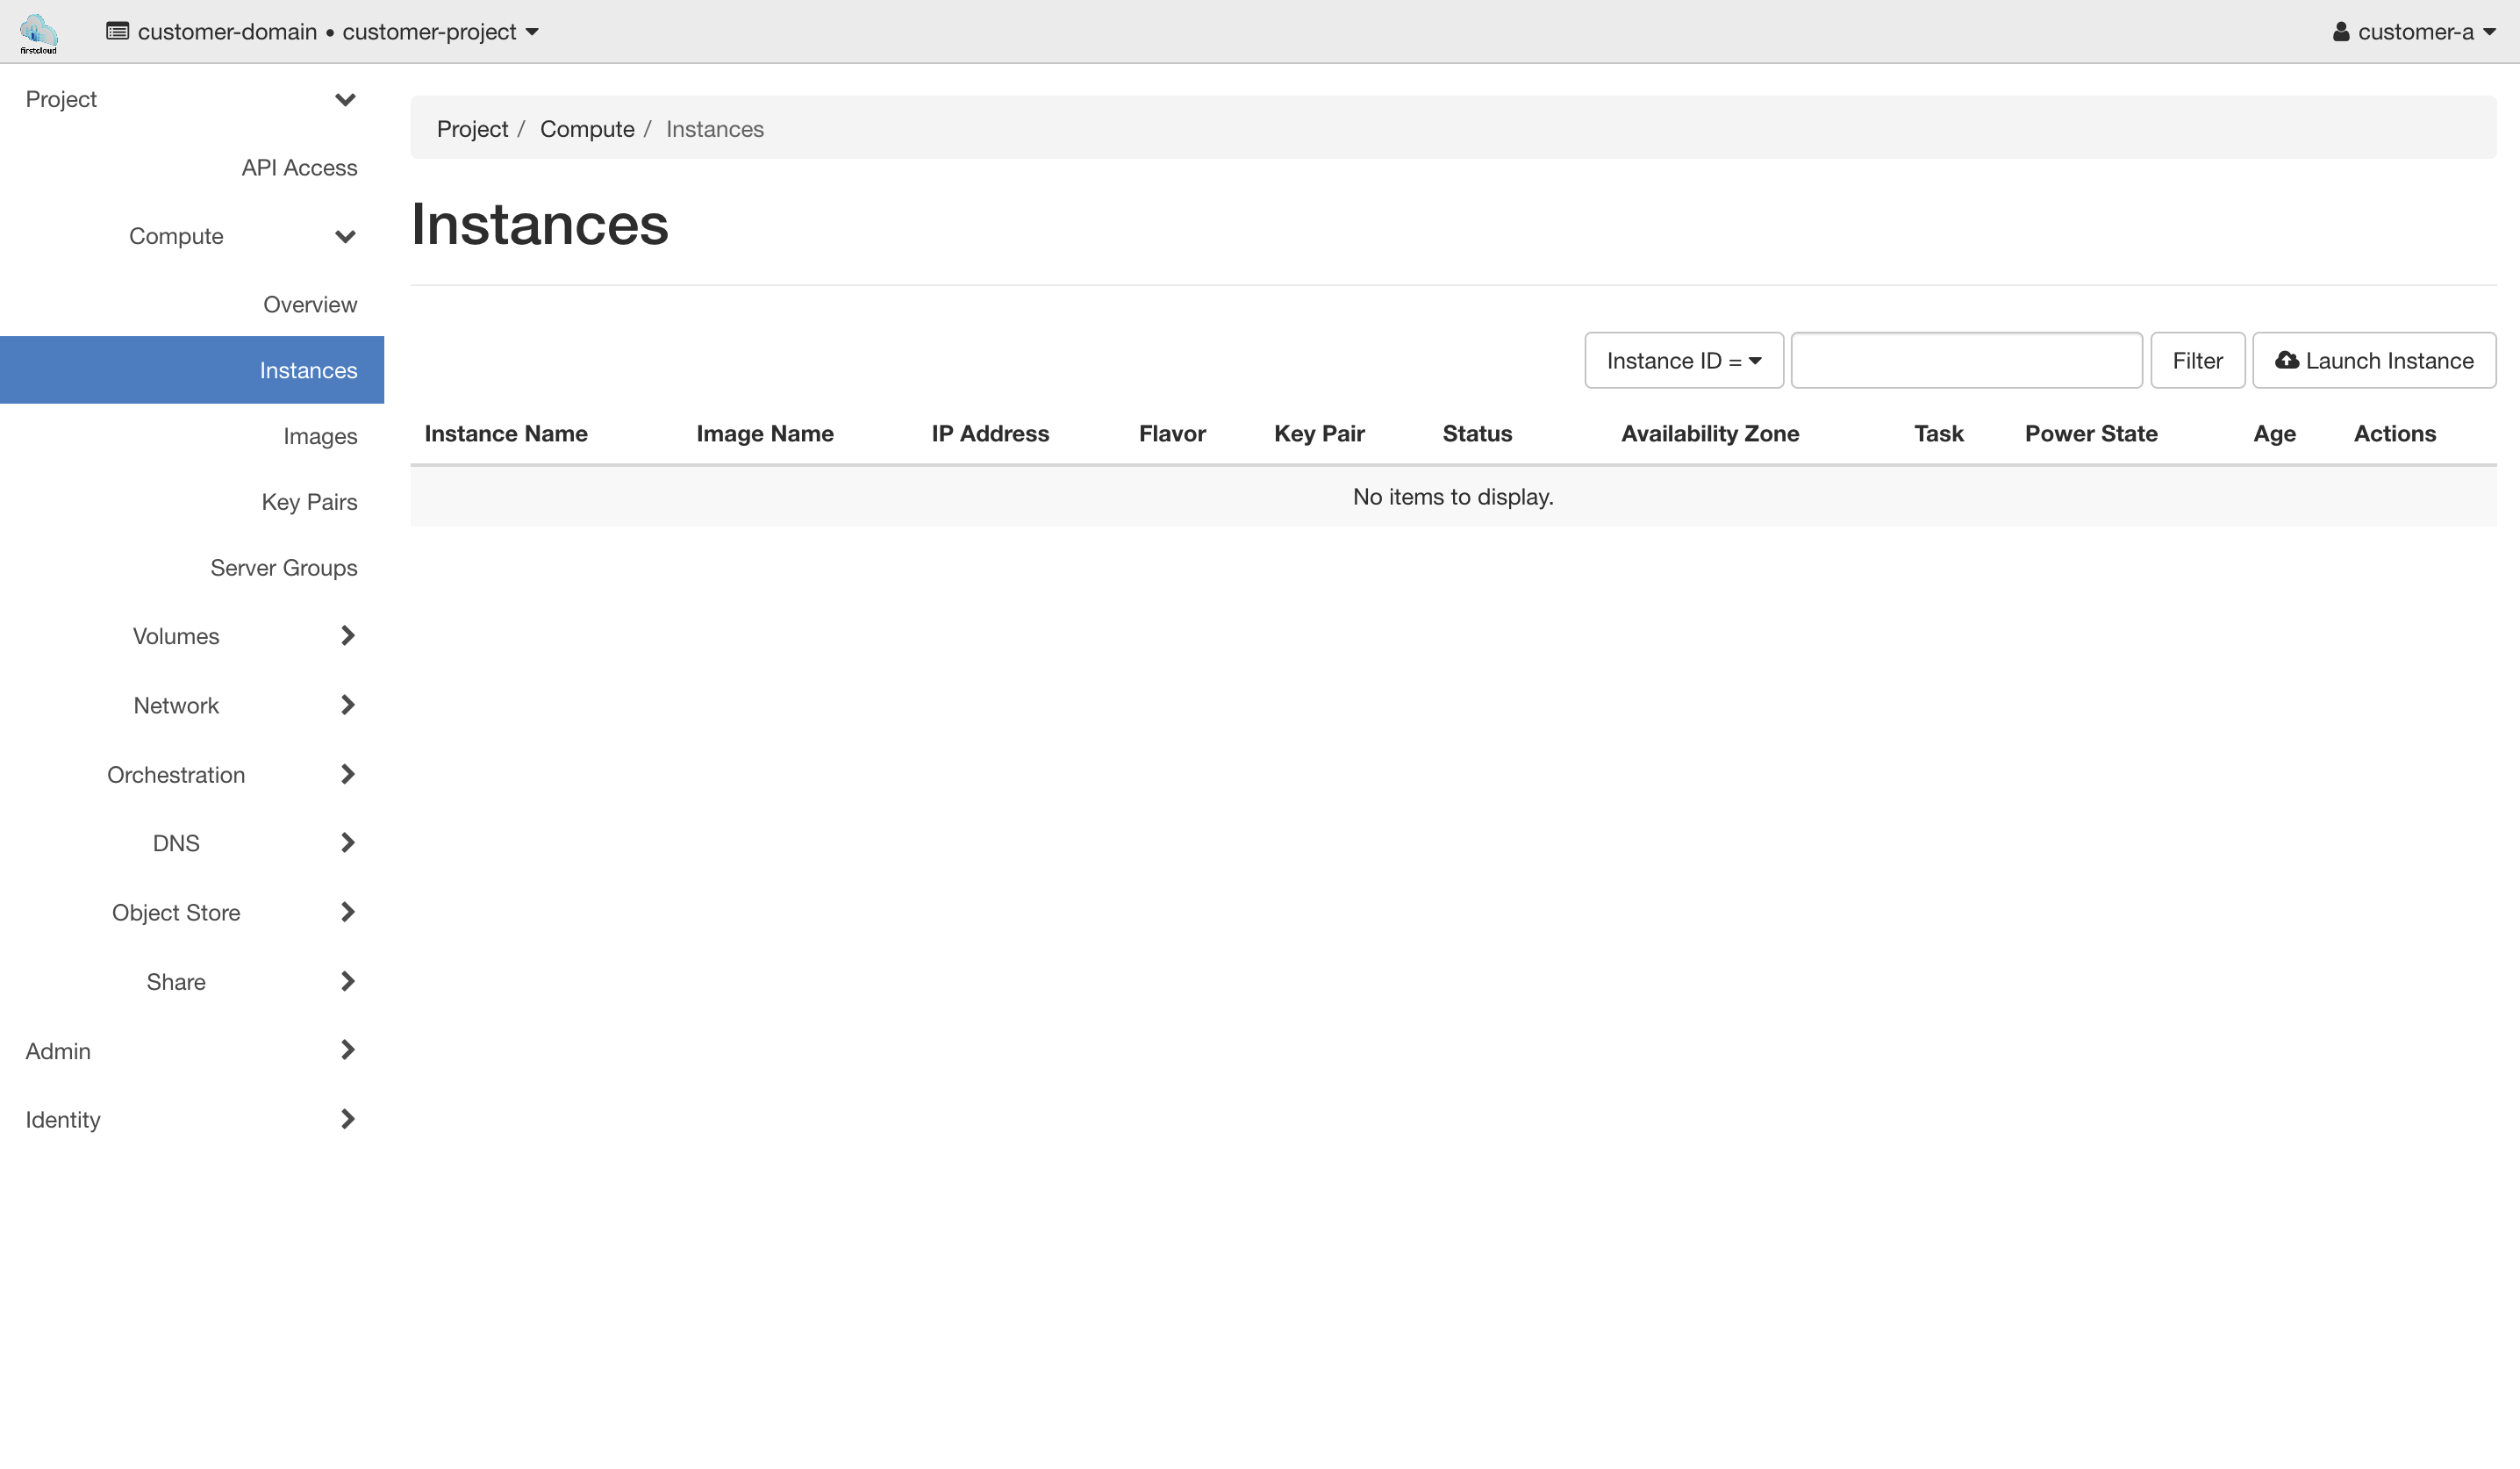
- Go to "Project" > "Instances."
-
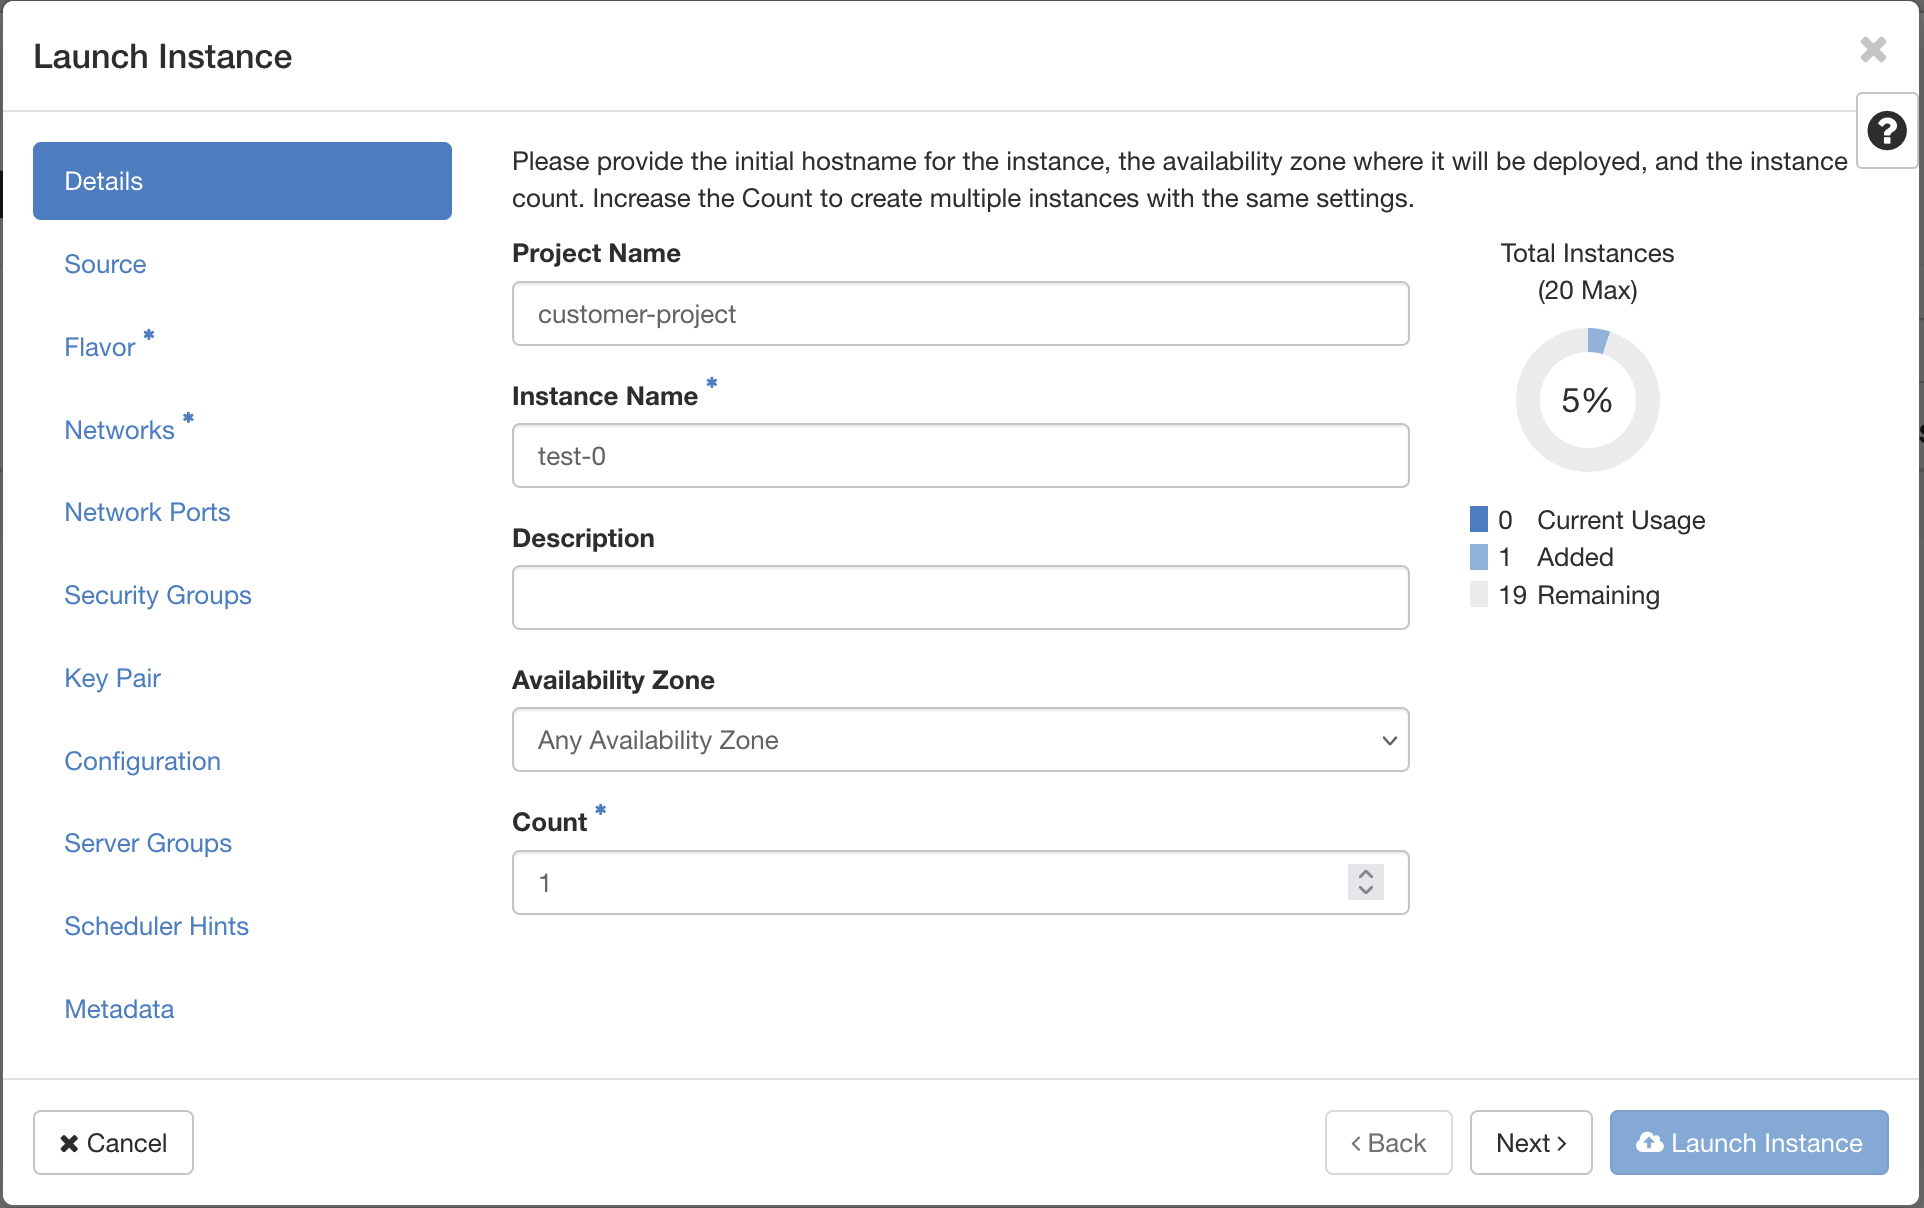
Launch Instance:
- Click "Launch Instance."
- Enter an "Instance Name."
- Click "Next."
-
Configure Boot Source:
- Select a boot source and enable "Create New Volume."
- Set the volume size.
- Choose a source image.
- Click "Next."

-
Select Flavor:
- Choose a flavor.
- Click "Next."

-
Choose Network Port:
- Select your pre-created network port from the "Available" section. Make sure not to select a network, but the recently created network port!
- Click "Next."

-
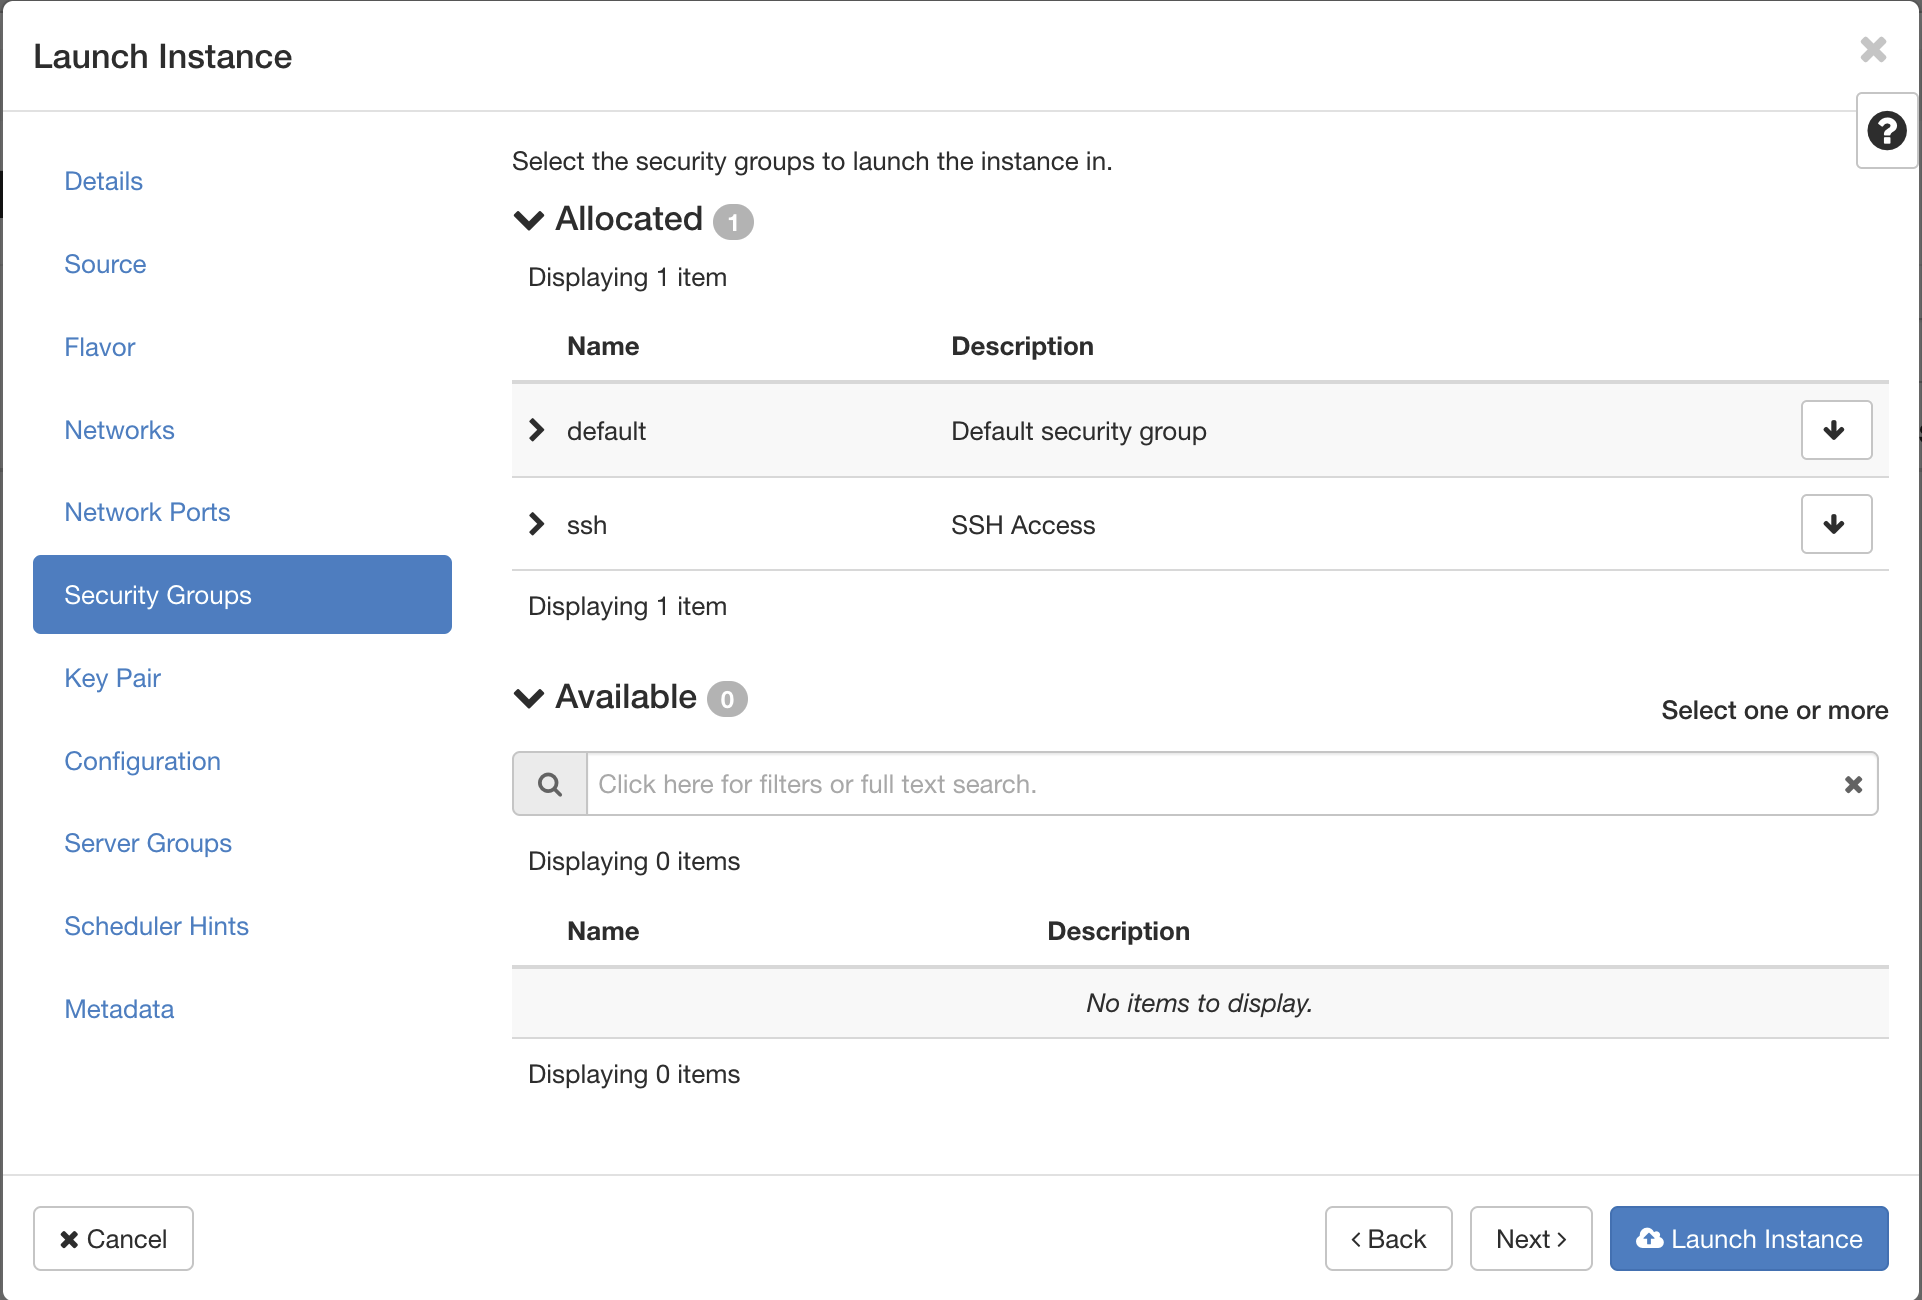
Configure Security Groups:
- Select the "default" and "ssh" security groups.
- Click "Next."
-
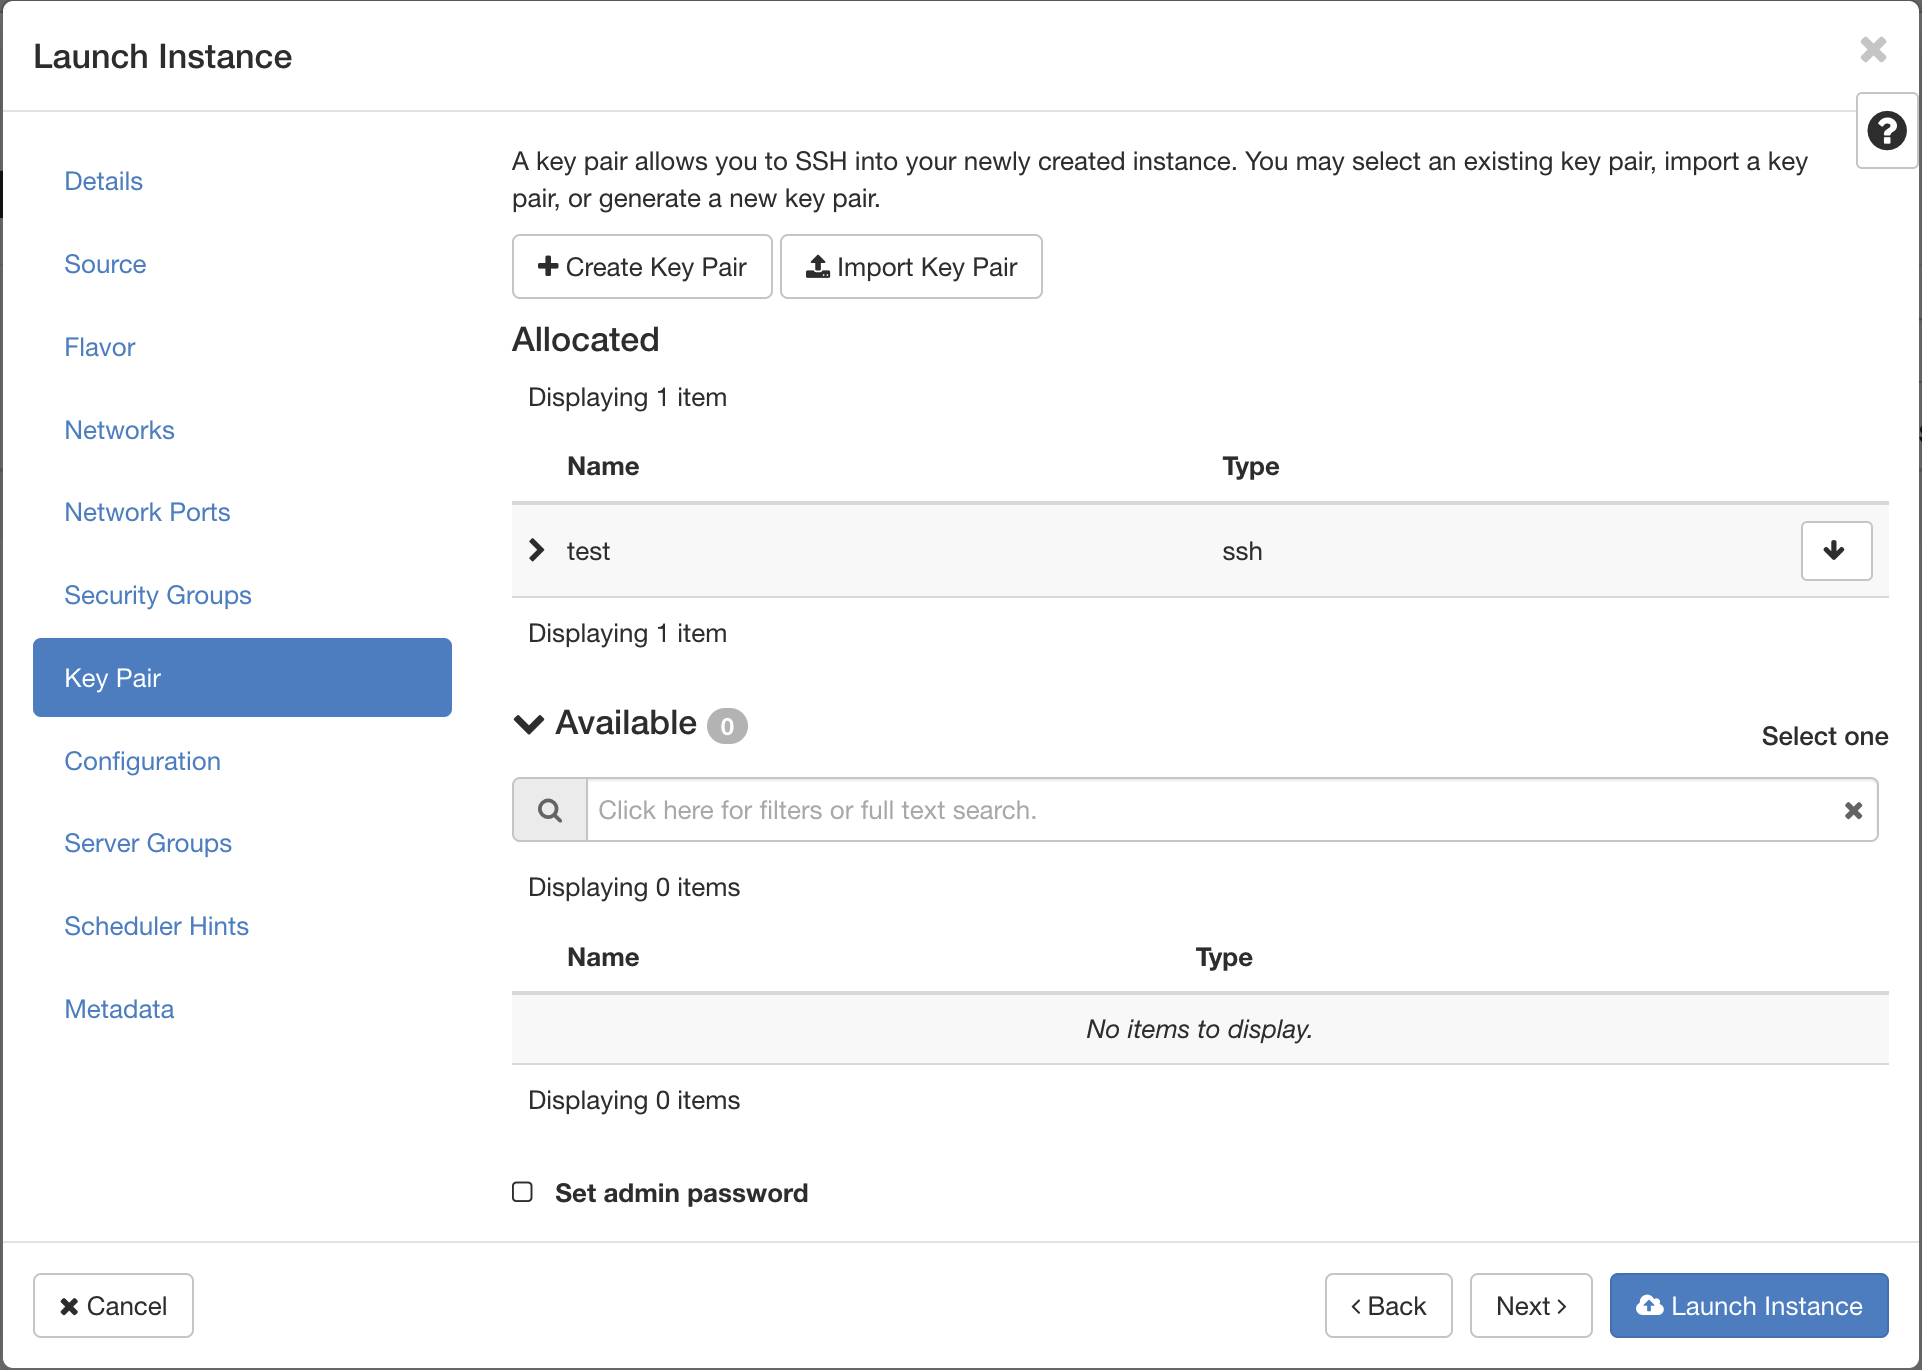
Select Key Pair:
- Choose your SSH key pair.
- Click "Launch Instance."
-
Monitor Instance Provisioning:
- Observe the instance status in the instance list.

- Observe the instance status in the instance list.
-
Access Console (Optional):
- Click on the instance and go to the "Console" tab to view console output.

- Click on the instance and go to the "Console" tab to view console output.
Important Note:
Establishing an external connection to your instance with a private IP requires that the network is connected to a router which has access to the external network.
-
Connect via SSH:
- After associating a floating IP, open a terminal and connect using:
ssh debian@<public IP> -i ~/.ssh/<private SSH key> - (Replace
<public IP>and<private SSH key>with your values.)
- After associating a floating IP, open a terminal and connect using:
-
Verify Connection:
- After associating the floating IP, you should now be logged into your instance.
Conclusion
We have successfully assigned a persistent private IP address to your instance. This guarantees that the private IP address will remain unchanged.