Create a Load Balancer (using LBaaS)
Overview
firstcloud provides load balancing through Octavia Load Balancer as a Service (LBaaS). With Octavia Layer 4 and Layer 7 aswell as HTTP and HTTPS loadbalancing is supported.
Below you will find a tutorial on how to set up an HTTP load balancer using Octavia load balancers.
Prerequisites
- You have installed Terraform.
- You know the basics of using the OpenStack CLI-Tools.
- Environment variables are set, like shown in the API-Access-Tutorial.
Terraform examples
The terraform example ussed in this tutorial
git clone https://github.com/firstcolo/terraform-examples.git
HTTP Load Balancer with Terraform and Octavia
In this tutorial we demonstrate an Octavia LBaaS setup (in Terraform they call it infrastructure) with the following features:
- an HTTP load balancer
- Round Robin LB algorithm
- Health Monitor for LB pool members (upstream instances)
- a server group with dynamic number of servers
- every upstream node installs nginx via Cloud-Init
- Nginx and a simple static page to show the identity of the back-end
Step one: Create the infrastructure
Open the folder containing the example code and create the infrastructure, providing your SSH key.
$ source openrc  # Set OpenStack authentication environment variables
$ cd terraform-examples/octavia-http
$ terraform init

Initializing the backend...

...etc...

$ terraform plan -var demokey="ssh-rsa AAA...== user@example.com"
Alternatively, you can make a file which contains your variables. It would look like this:
# Please change the ssh public keys below to yours
demokey = "ssh-rsa AAAA...== user@example.com"
Then, plan and apply the Terraform infrastructure.
$ terraform plan -var-file=env.tfvars

$ terraform apply
openstack_compute_keypair_v2: Creating...
openstack_compute_secgroup_v2: Creating...
openstack_networking_router_v2: Creating...
openstack_networking_floatingip_v2: Creating...
openstack_networking_network_v2: Creating...
openstack_networking_floatingip_v2: Creating...
openstack_compute_secgroup_v2.: Creating...
openstack_compute_keypair_v2: Creation complete after 1s [id=keypair]
openstack_compute_secgroup_v2: Creation complete after 2s [id=af83bbdd-75b2-4f93-8d0b-50c7dba45778]
openstack_compute_secgroup_v2: Creation complete after 2s [id=af83bbdd-75b2-4f93-8d0b-50c7dba45778]
...
openstack_lb_member_v2.lb_web_pool_members[1]: Creation complete after 10s [id=af83bbdd-75b2-4f93-8d0b-50c7dba45778]
openstack_lb_member_v2.lb_web_pool_members[2]: Creation complete after 11s [id=af83bbdd-75b2-4f93-8d0b-50c7dba45778]
openstack_lb_member_v2.lb_web_pool_members[0]: Creation complete after 17s [id=af83bbdd-75b2-4f93-8d0b-50c7dba45778]

Apply complete! Resources: 22 added, 0 changed, 0 destroyed.

Outputs:

loadbalancer_http = "http://84.200.12.100"
Note that the "Allowed CIDRs" of the listeners in the example are already set to a value (here 0.0.0.0/0). This is in contrast to Heat, where you have to set them in a separate step. The security groups are also configured in the terraform receipe.
Step two: Check if the load balancer works properly
The call to terraform apply contains the LB floating IP in its output:
Apply complete! Resources: 22 added, 0 changed, 0 destroyed.

Outputs:

loadbalancer_http = "http://84.200.12.100"
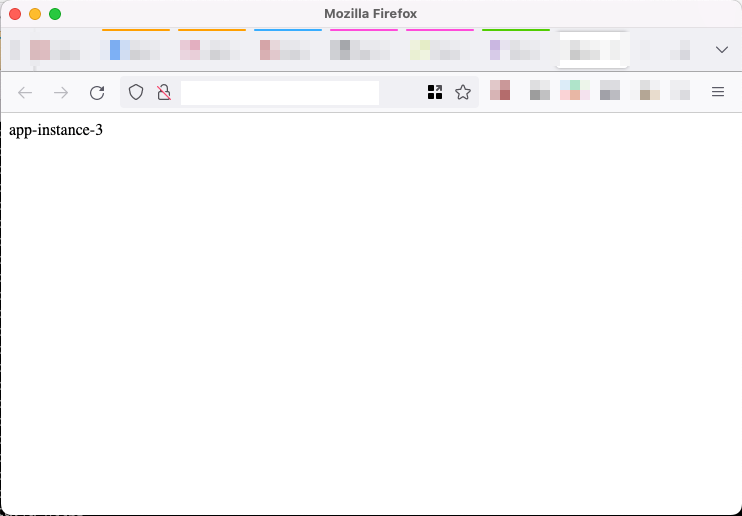
Open the loadbalancer ip in your browser via http://<loadbalancerIP> which shows the IP of the currently-used backend server.
Refresh the page multiple times to see if the loadbalancer correctly balancing the requests across the servers.