Launch a new instance
Overview
This tutorial explains how to launch a single instance using the Horizon dashboard (GUI).
Goal
- Launch a jumphost/kickstart instance via GUI (Horizon)
Prerequisites
- You need to have the login data for the firstcloud API (user name, passphrase and domain)
- Knowledge how to utilise a terminal/SSH and SSH-keys
Import SSH keys
- Upload your SSH key(s) to the Horizon Dashboard - see the how-to article on importing SSH-keys
Create Security Group for SSH access
- Create a security group for SSH access - see the how-to article on create security groups
Launch Instance
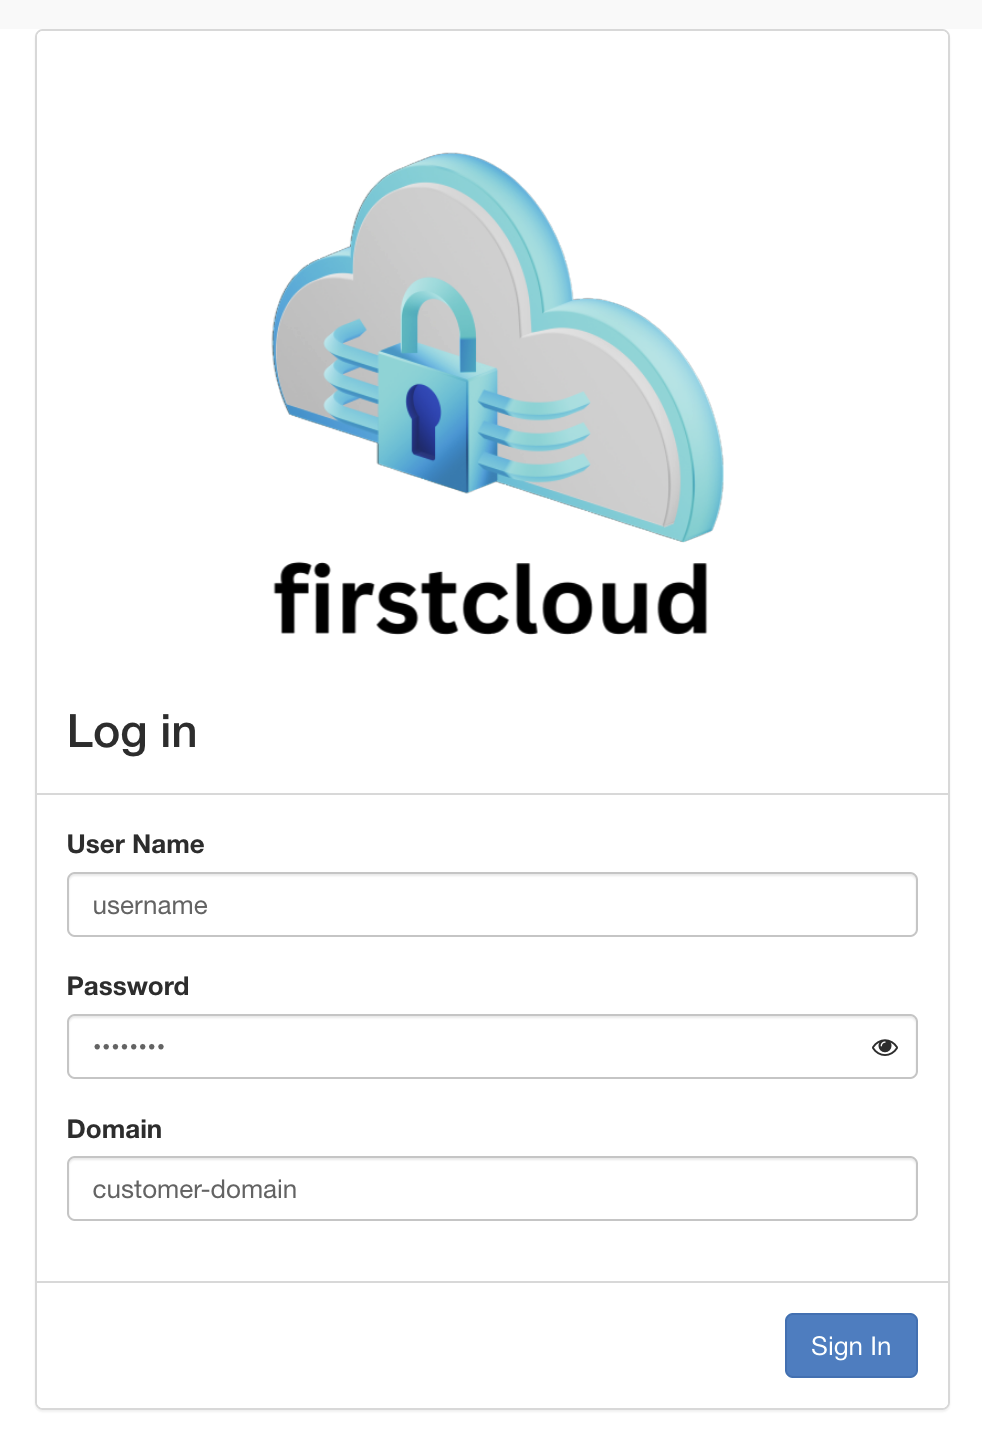
- Log in to the firstcloud Dashboard using the username and password (API credentials) that were provided by firstcolo.
- In order to launch the instance using the dashboard go to "Project" --> "Instances".
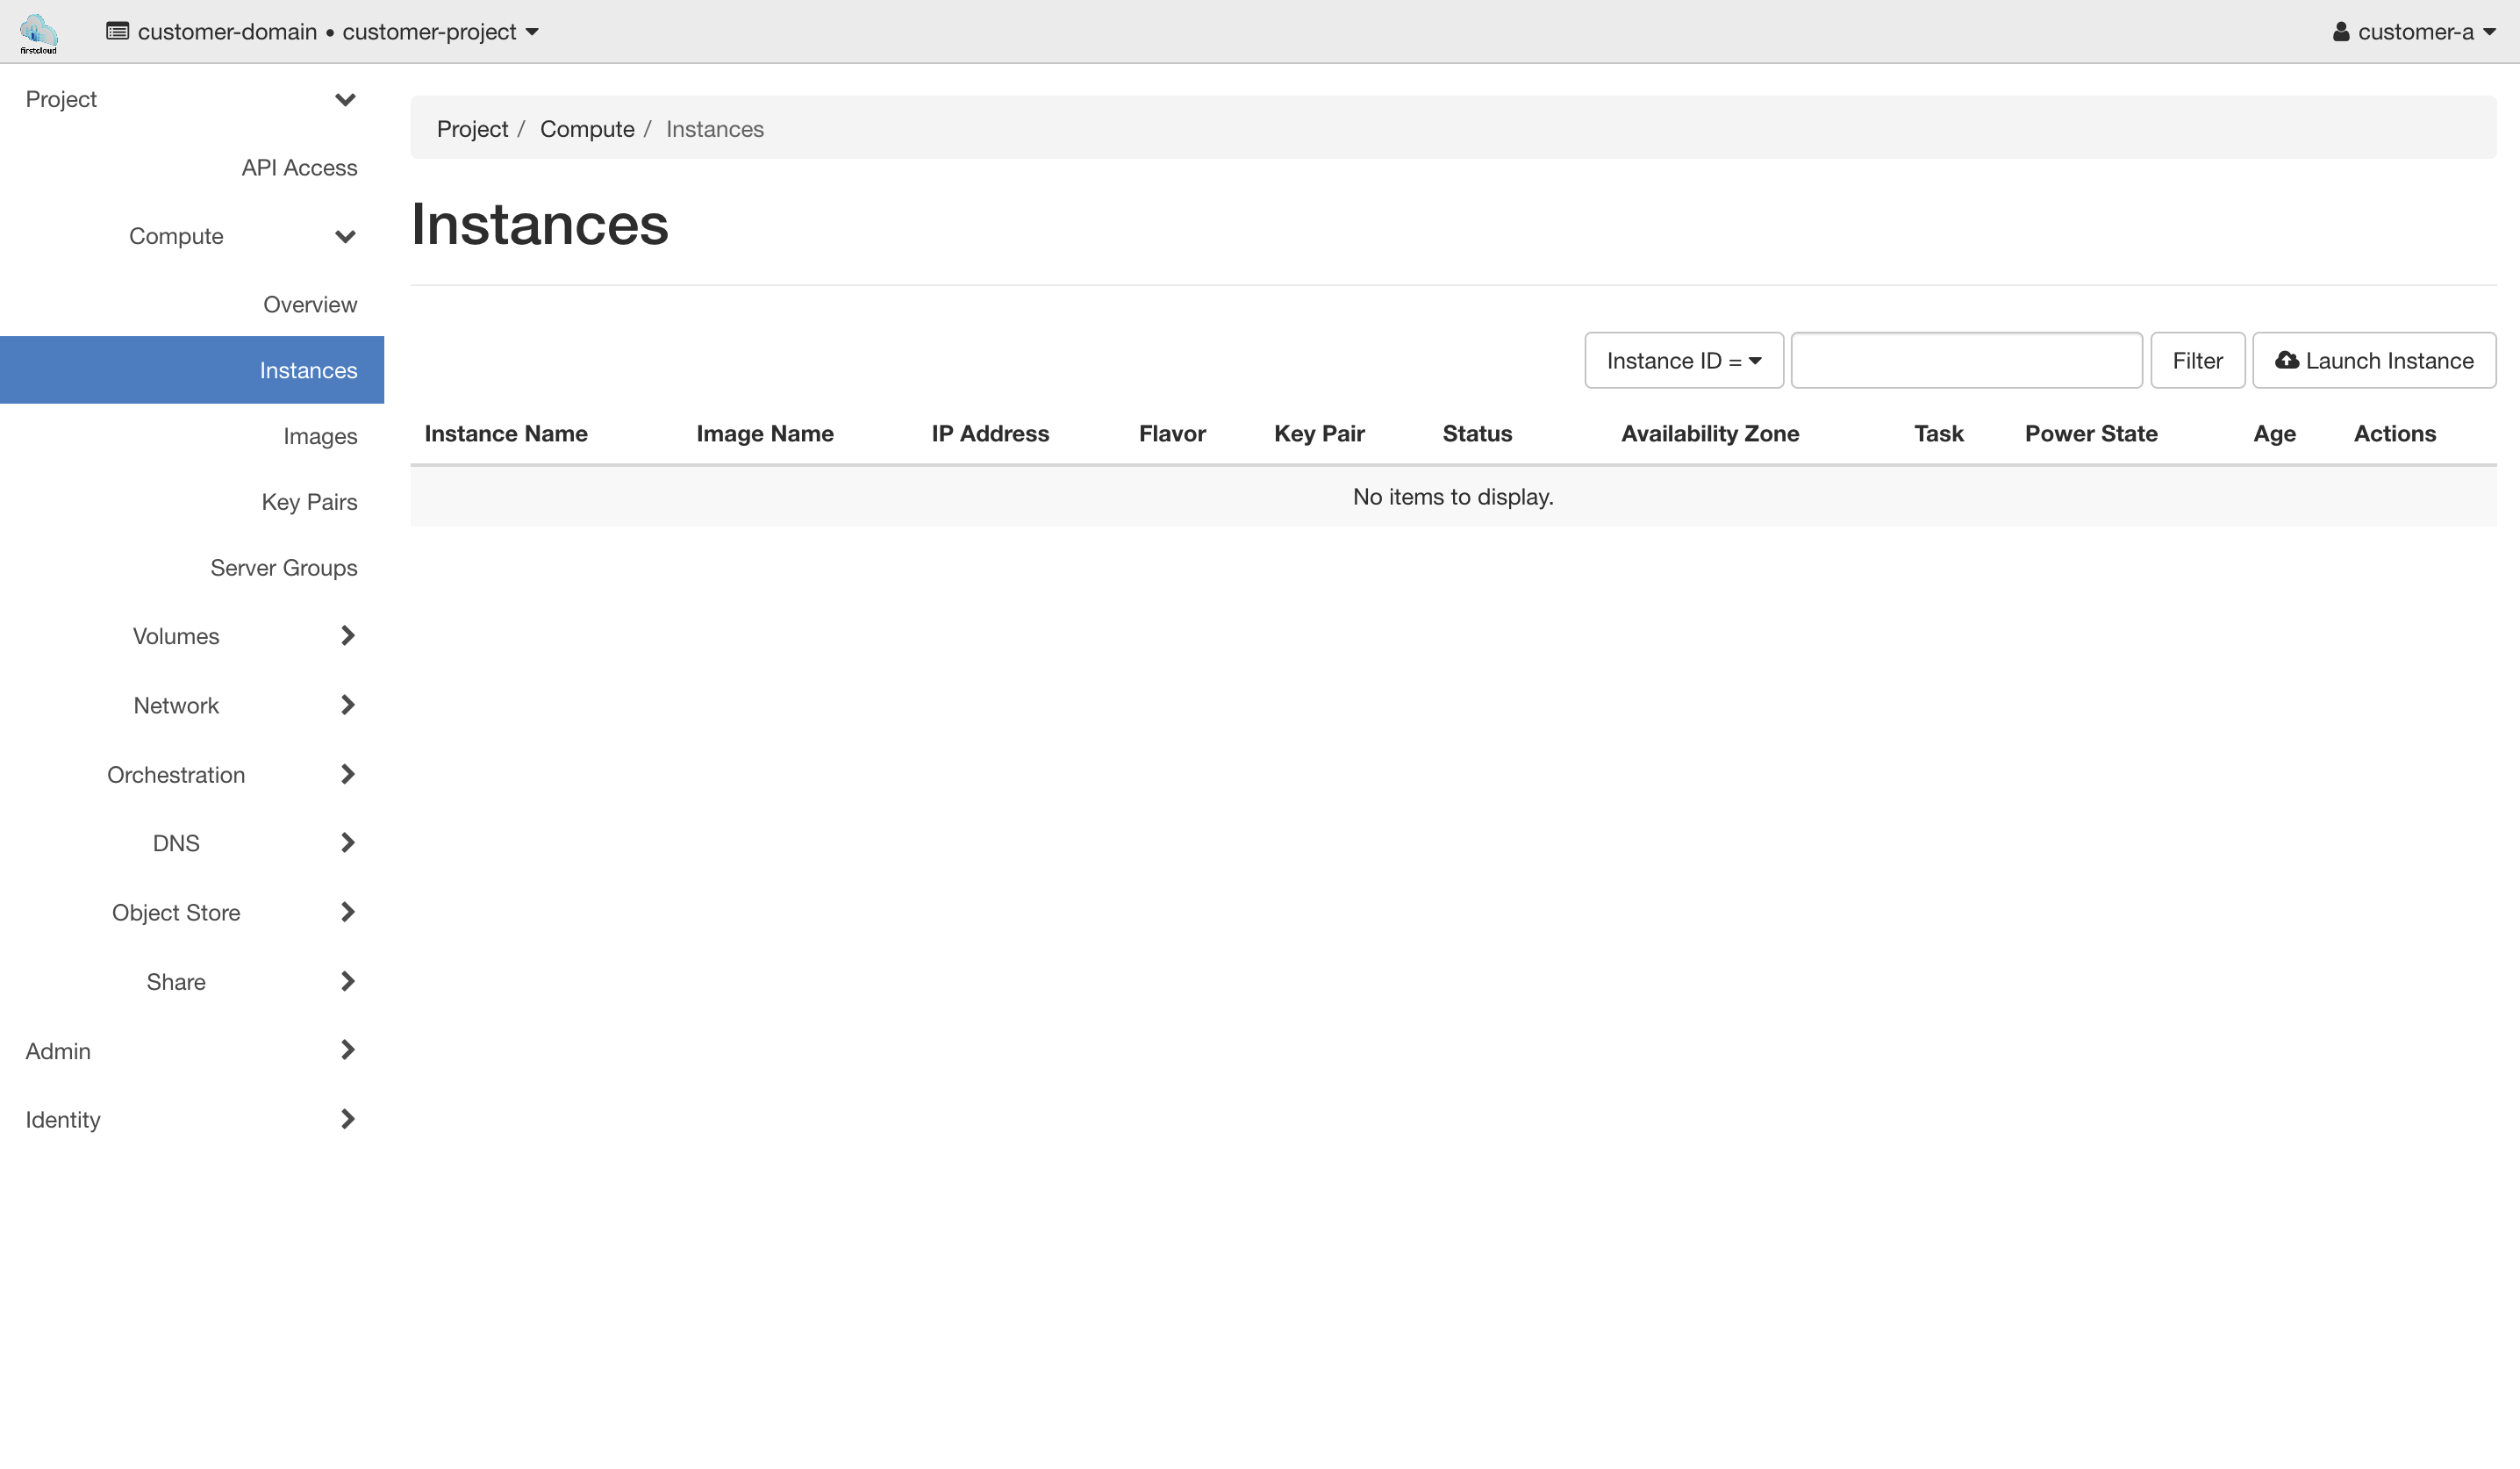
- Click the button "Launch Instance"
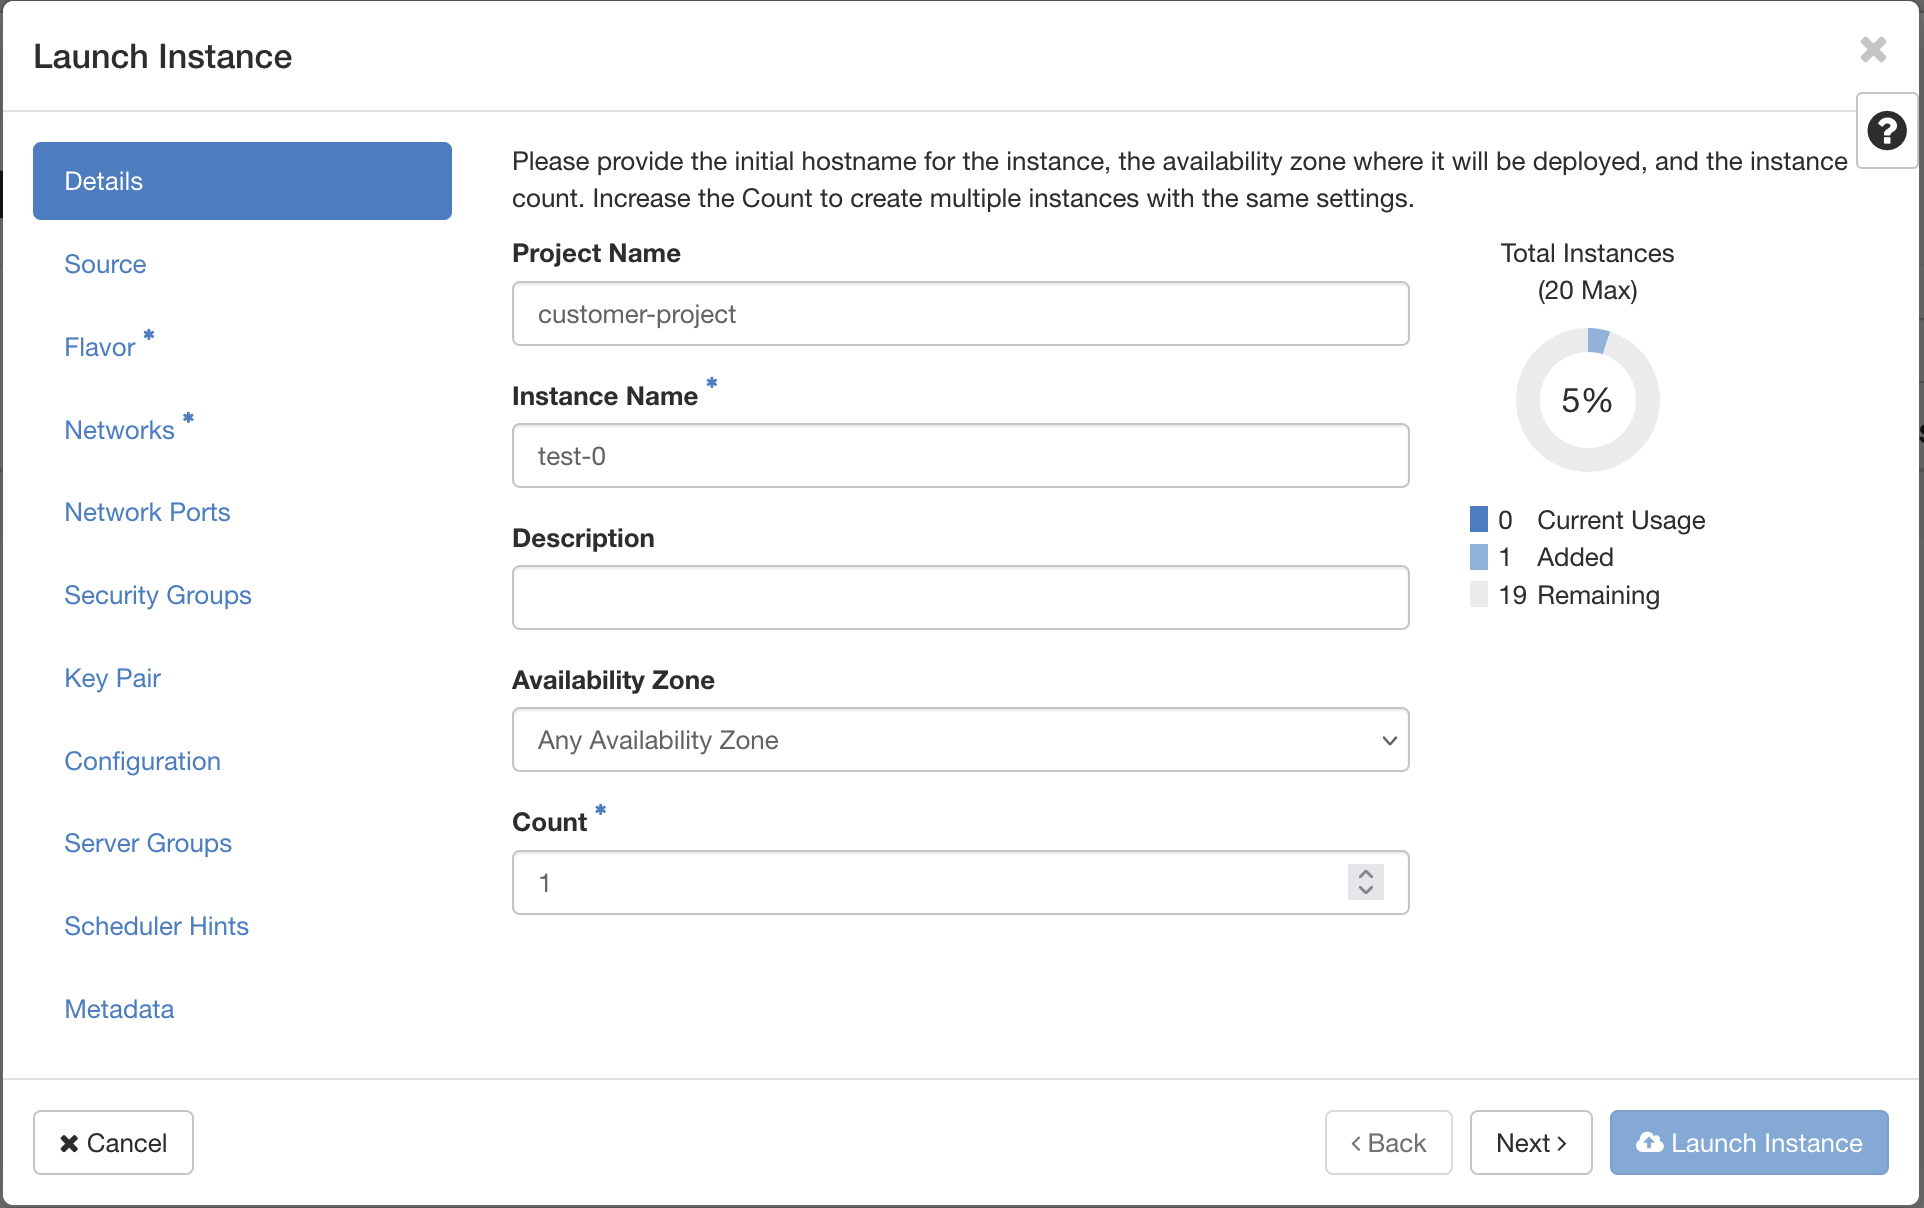
- Write a name for this instance into the field "Instance Name"
- Click "Next"
- Select a boot source and enabled "Create New Volume"
- Set a volume size
- Select a source image to boot from
- Click "Next"

- Choose a flavor
- Click "Next"

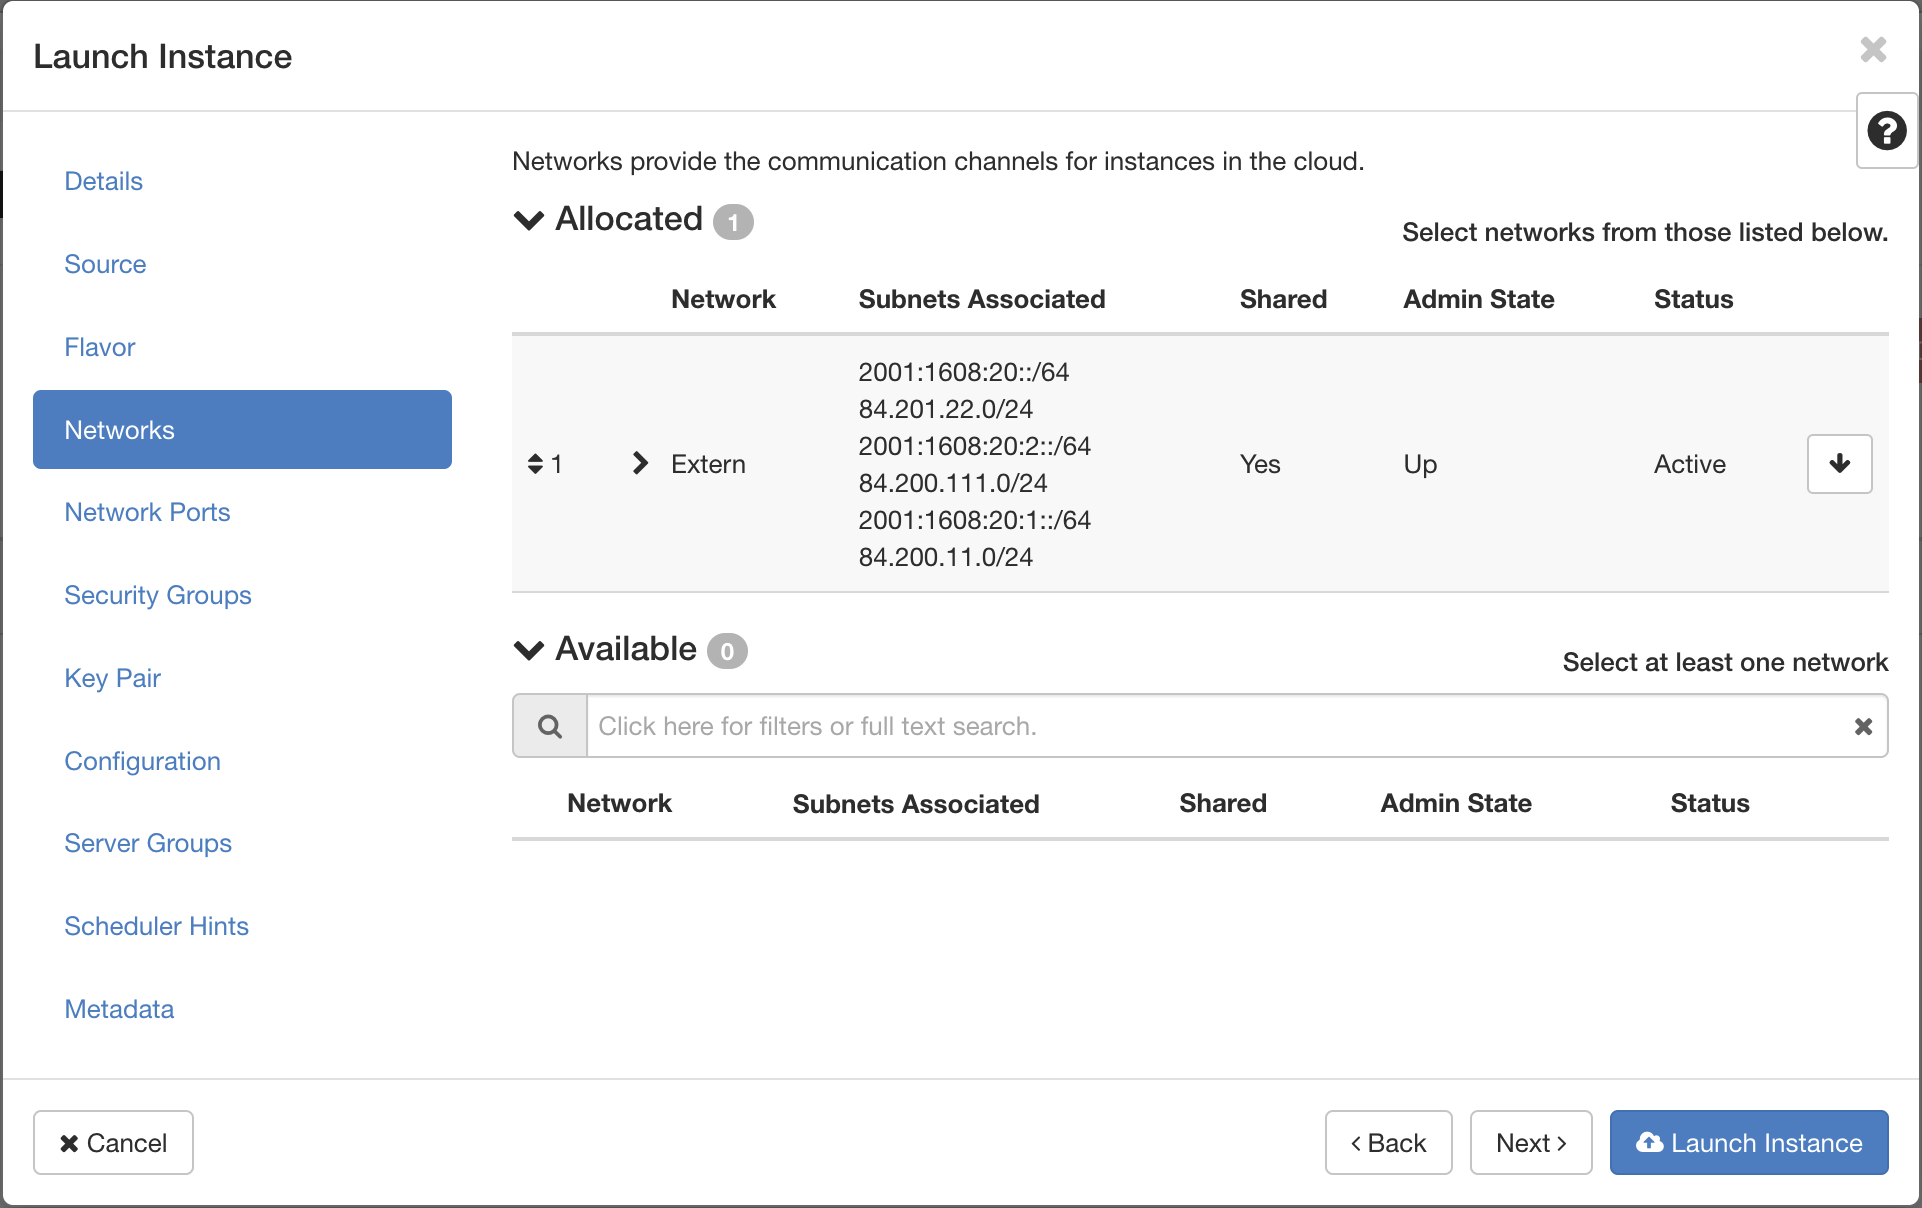
- Choose a network (only the external provider network is available by default which assigns a public IP address to the instance)
- Click "Next"
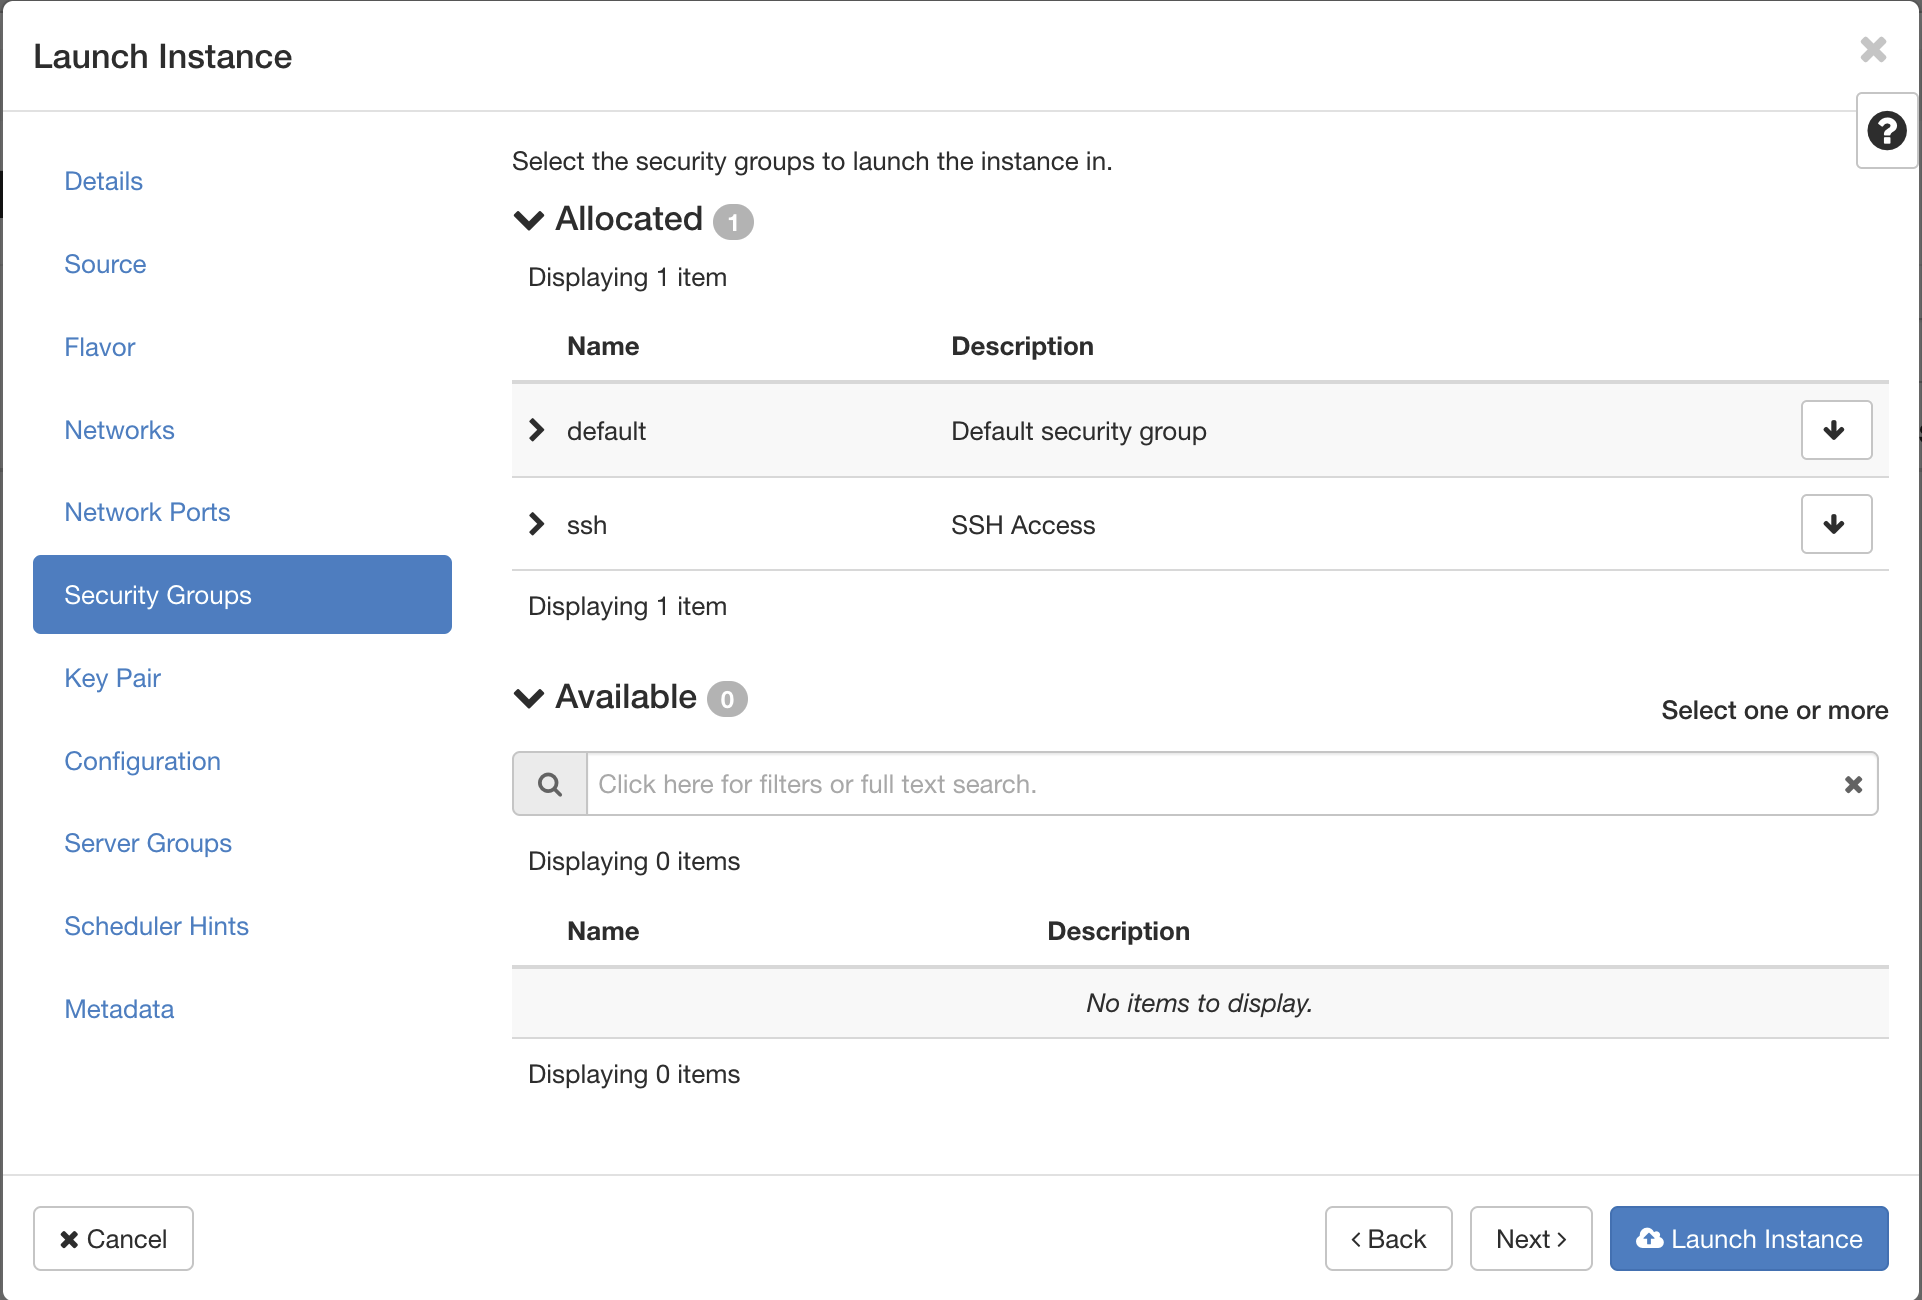
- Select the "default" and the "ssh" security group
- Click "Next"
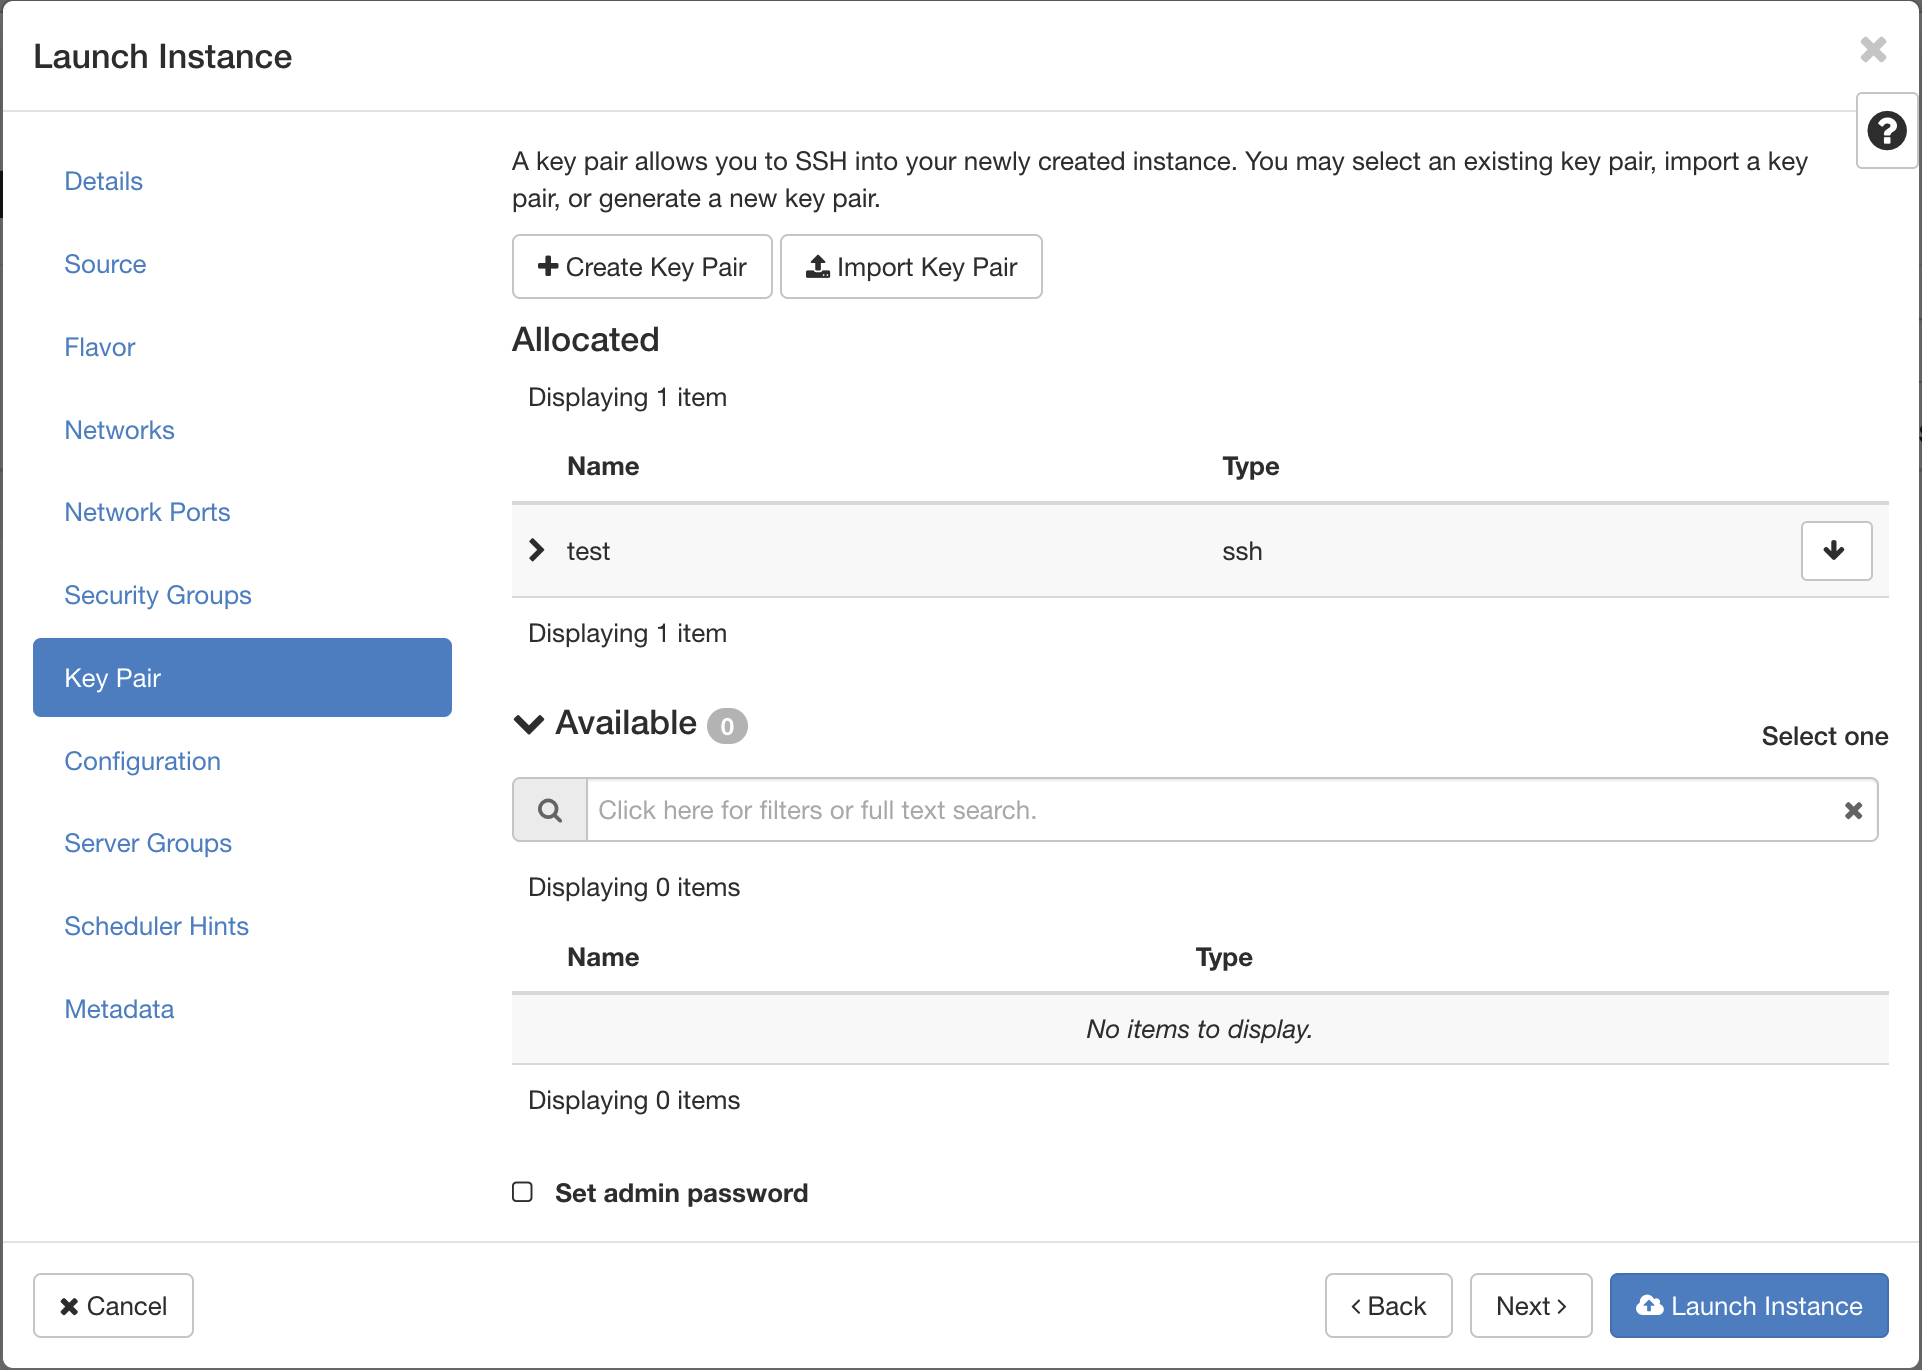
- Select a ssh keypair
- Click "Launch instance"
- In the instance list you see that the instance is now provisoning.

- You can check the output of the console by click the instance and go to the "console" tab

Important Note:
Establishing an external connection to your instance requires the configuration of a router (if not previously configured) and the assignment of a floating IP address to the instance's interface.
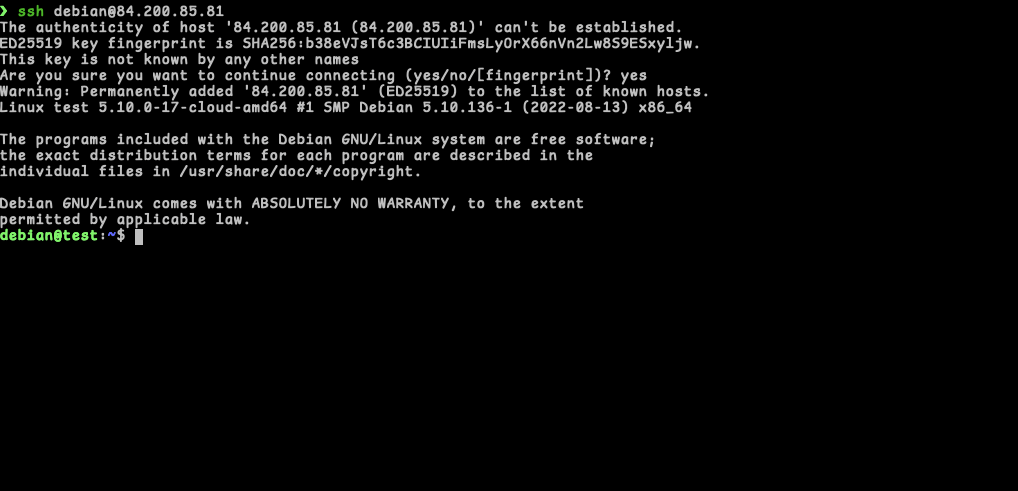
Open a terminal of your choice and log in to the instance via ssh with the username debian
ssh debian@<public IP> -i ~/.ssh/< private ssh key >
- You should now be logged in your instance via SSH