Create private self-service networks
Overview
This guide describes how to create a network using a private IP address space.
Prerequisites
- You know the basics of using the OpenStack CLI-Tools.
- Environment variables are set, like shown in the API-Access-Tutorial.
Create network using the GUI
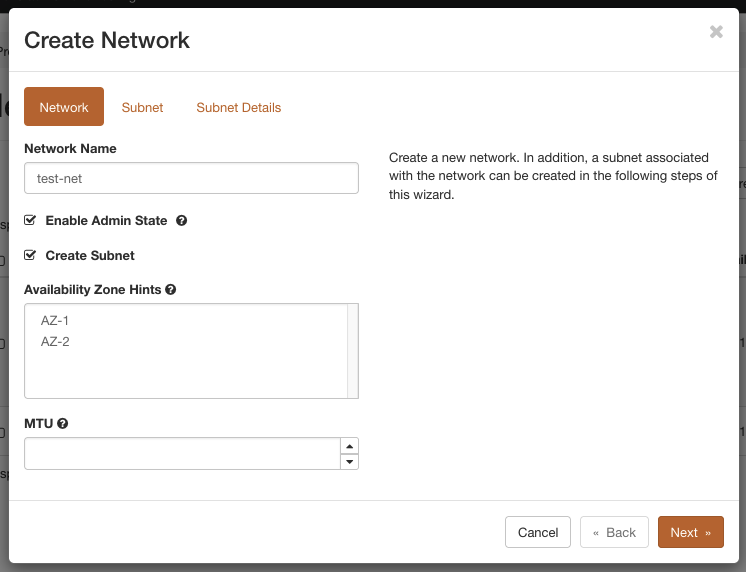
In the firstcloud Dashboard navigate to "Network" -> "Networks" and click on the button "Create Network". Define a name for the new networks and click on "Next".
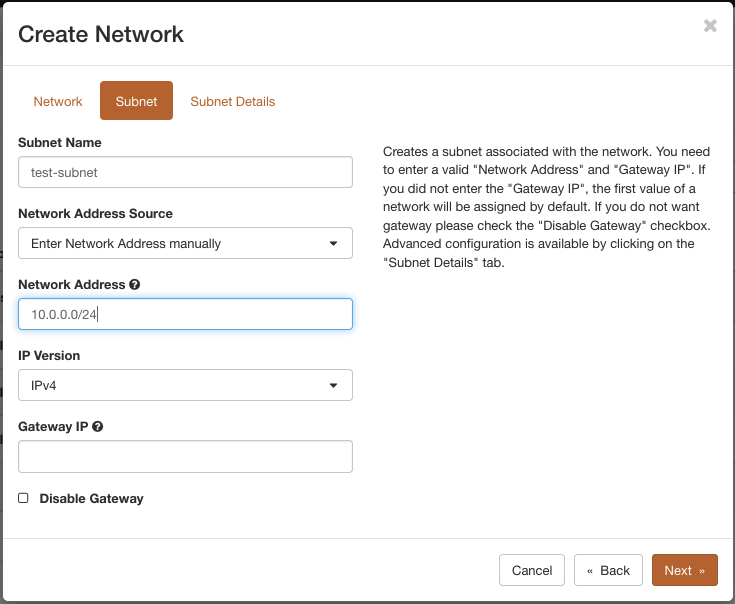
In the following view, the details of the first subnet are requested. Define a name and the private IP address range (see RFC1918) and click on "Next".
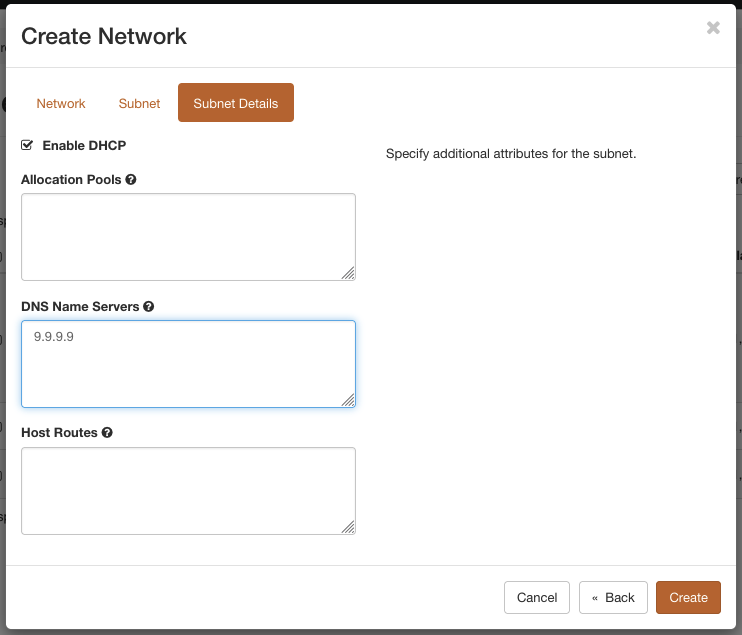
In the last step, add one or more DNS name server IPs and click on "Create".
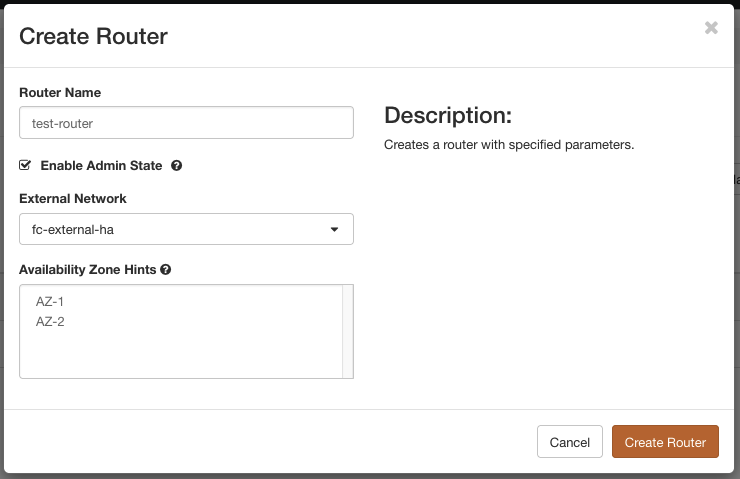
Finally, a router needs to be created for external connectivity. Navigate to "Network" -> "Routers" and click on "Create Router". Define a name and select "fc-external-ha" as "External Network". Then click on "Create Router".
Next, click on the newly created router and navigate to the tab "Interfaces". Use the "Add Interface" button to create interfaces for the two subnets created beforehand.
The network can now be used for creating virtual machines with private IP addresses.
It is also possible to add a public IPv6 subnet to the network for dual-stack connectivity. See Create routed self-service networks for how to create an IPv6 subnet from a pool.
OpenStack-CLI
You need to have the OpenStack-CLI installed and configured. After sourcing the openrc.sh the network and subnets can be created as follows:
openstack network create test-net

openstack subnet create \
  --network test-net \
  --subnet-range 10.0.0.0/24 \
  --ip-version 4 \
  --dns-nameserver 9.9.9.9 \
  test-subnet

openstack router create \
  --external-gateway fc-external-ha \
  test-router

openstack router add subnet test-router test-subnet